Field gear guide
What fossil hunters actually carry
Not a gear-marketing list -- a practical rundown of what each tool is actually for, organized by what stage of a dig you'd reach for it.
Before you collect anything
Fossil collecting rules vary by location and land ownership. In the US, collecting common invertebrate and plant fossils is generally allowed on most Bureau of Land Management land for personal, non-commercial use, but vertebrate fossils (anything from an animal with a backbone, including dinosaurs) are protected on all federal land and require a permit to collect, even for research. National parks prohibit collecting entirely. Private land always requires the owner's permission regardless of what's on it. Rules differ meaningfully outside the US -- check local and national regulations before you dig anywhere new.
Breaking rock
The two tools that do most of the actual excavation -- everything else is refinement and cleanup.
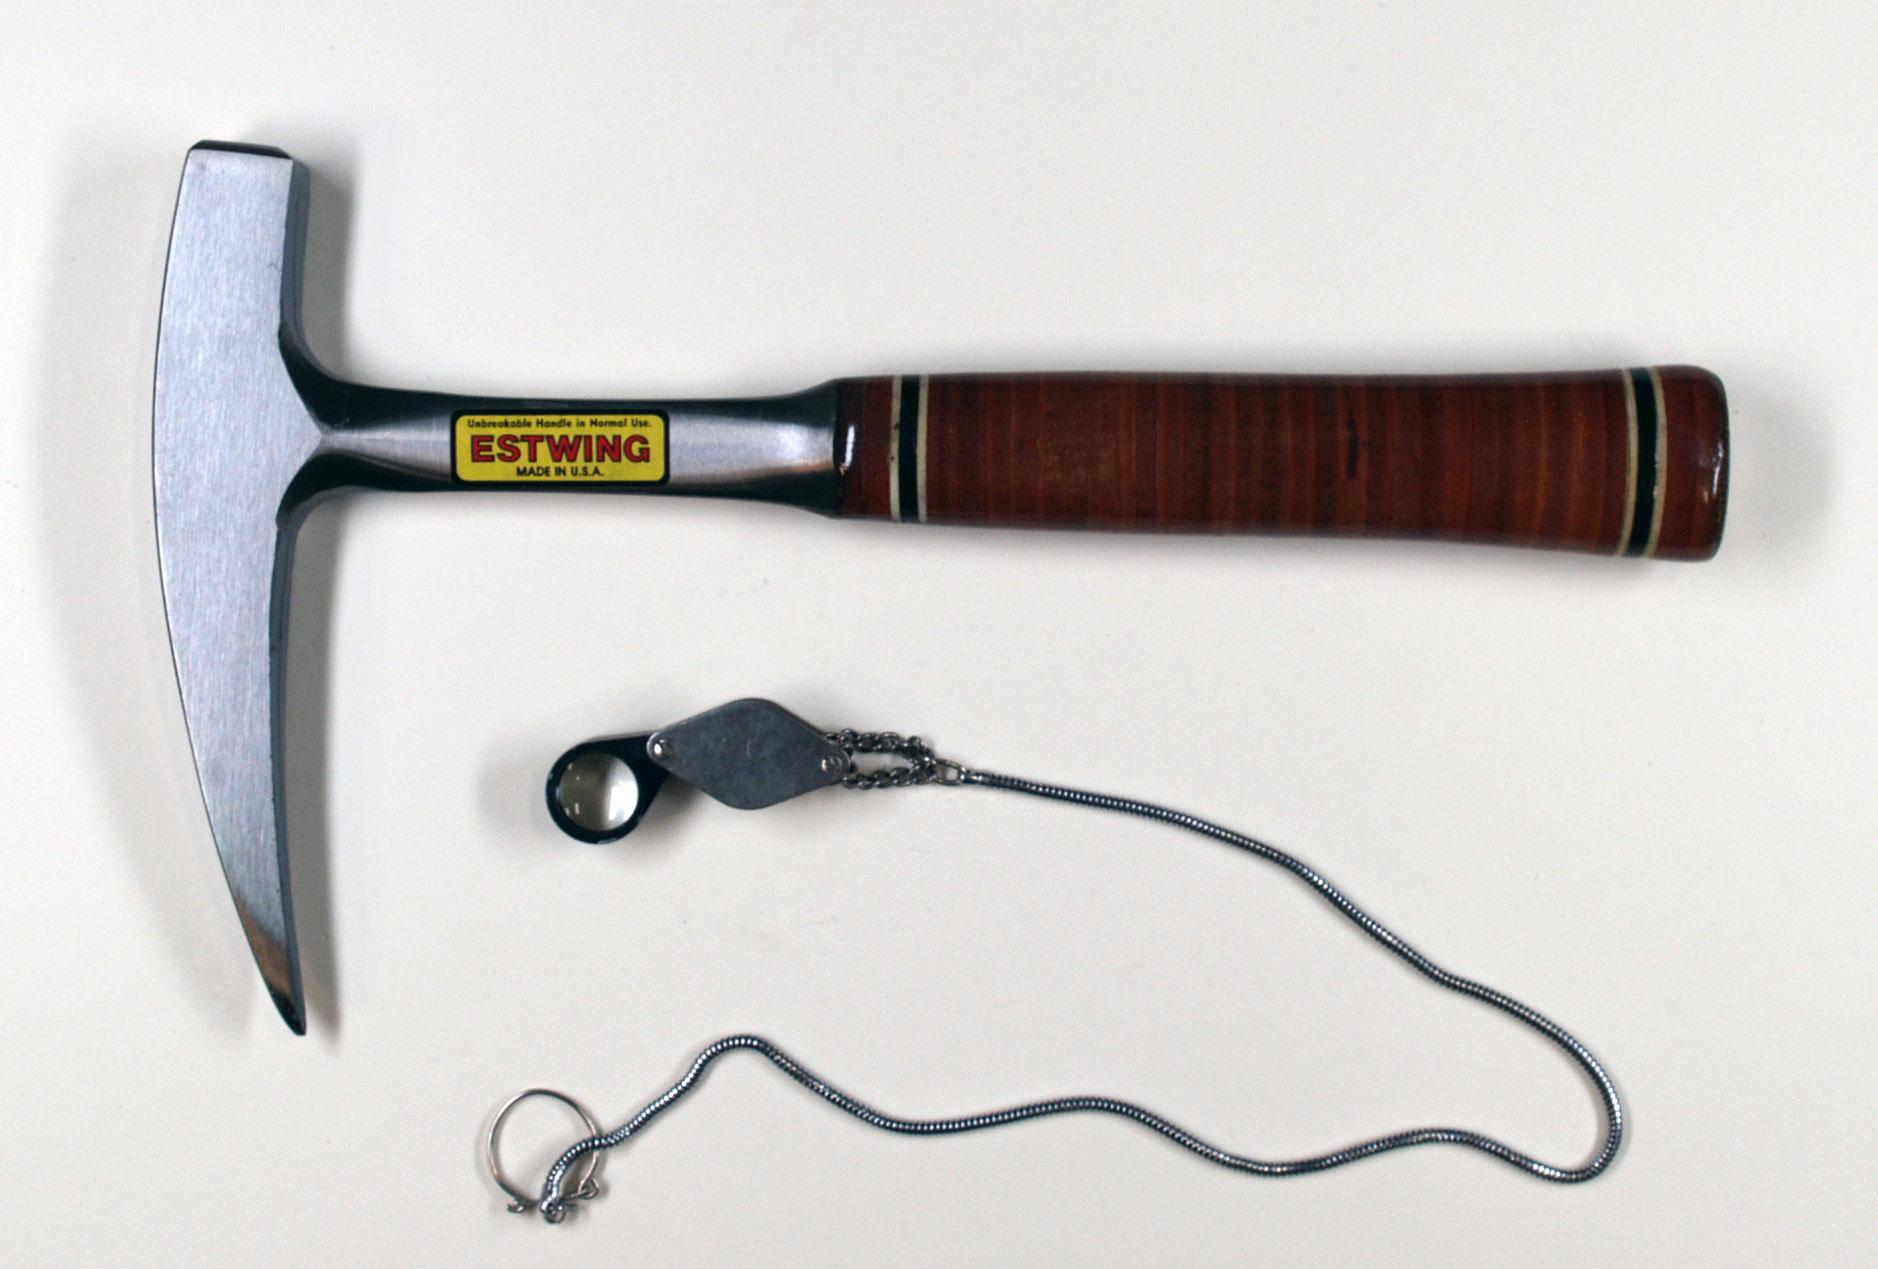
Rock hammer / geology pick
A dedicated geology hammer has a chisel or pick end for splitting sedimentary rock along natural bedding planes, rather than the blunt striking face of a standard claw hammer.
Tip: Weight matters more than size -- a 1-1.5 lb (450-680g) head is enough for most sedimentary matrix and won't fatigue your arm on a long dig.
Geologist's tools -- CC BY 3.0, via Wikimedia Commons
See options →Cold chisels (assorted widths)
Once a hammer has exposed a promising layer, chisels let you split rock in a controlled direction instead of shattering it unpredictably.
Tip: Carry at least two widths -- a wide one for splitting large slabs, a narrow one for working close to a visible specimen edge.
See options →Fine excavation
Once a specimen is exposed, the work shifts from breaking rock to removing it a grain at a time without damaging the fossil underneath.
Awls / dental picks
Fine-pointed picks let you work sediment away from delicate surface detail -- suture lines, tooth serrations, bone texture -- that a chisel would destroy.
Tip: A set with several tip shapes covers most matrix hardness; the finest tip is the one you'll reach for most often near the actual bone surface.
See options →Soft brushes
Loose sediment needs to come off before you can see what you're actually excavating -- a stiff brush can scratch bone, so soft bristles are worth the extra cost.
Tip: Keep at least one brush reserved only for fossil surfaces, separate from whatever you use to clear general debris.
See options →Finding material
Tools that help you spot promising material before you start digging.
UV flashlight
Certain minerals and some fossilized material fluoresce differently from surrounding rock under UV light, which can help spot material that's easy to miss in normal daylight, and is also a standard check when examining a fossil for undisclosed repair work (see our authentication guide).
Tip: A 365nm (long-wave) light is the standard choice for field and specimen-inspection use.
See options →Regional field guide
Knowing what formation you're standing on -- and what's actually been documented there -- turns random digging into informed searching.
Tip: Pair a printed regional guide with the Paleobiology Database (paleobiodb.org) for documented occurrence data in your area.
See options →Protection and documentation
Easy to skip, and the first thing experienced collectors say they wish they hadn't.
Safety glasses and gloves
Splitting rock throws sharp fragments; a stray hammer strike or fragment is the most common fossil-hunting injury, and it's entirely preventable.
Tip: Impact-rated glasses, not sunglasses -- the point is fragment protection, not glare reduction.
See options →Padded specimen boxes and field labels
A fossil that survived tens of millions of years underground can still crack in a car trunk on the way home. Locality data written down on-site is also what separates a scientifically useful find from a curiosity -- once you're back home, you can't reconstruct exactly where and how deep it was.
Tip: Label every specimen with date, GPS coordinates or a clear location description, and formation/layer if known -- before you move on to the next find, not at the end of the day.
See options →Ready to plan a trip? See our guide to where dinosaur fossils are actually found, region by region, including a short list of real guided-dig operations. Buying a fossil instead of hunting for one? Read our fossil market guide before spending real money on a specimen.